Documentation outlines the setup and usage of a Unilevel MLM eCommerce plan using Laravel. It covers both backend and frontend aspects, including commission and bonus settings, product management, genealogy, E-wallet, affiliate link, user dashboard, commission views, user reports, payout processes, and e-commerce functionality.
Table of Contents
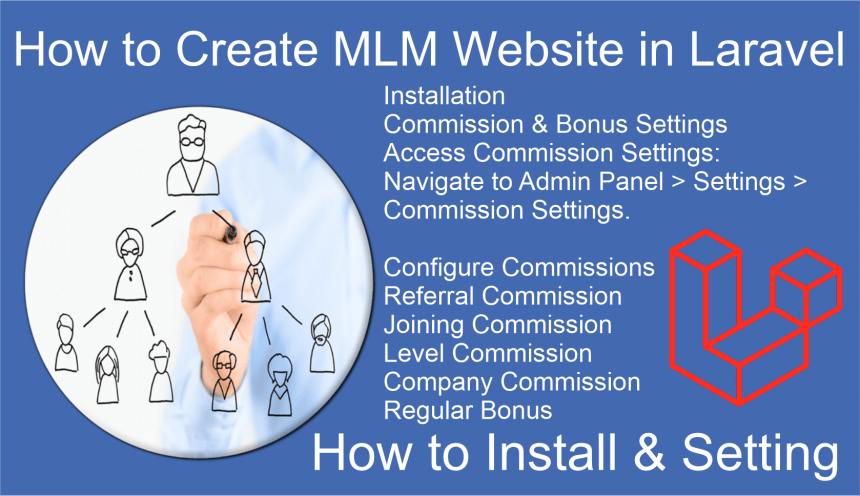
- Installation
- Commission & Bonus Settings
- Product Management
- Genealogy
- E-wallet
- Affiliate Link
- User Dashboard
- Commission Views
- User Reports
- Run Payout
- E-commerce Functionality
Installation
- Clone the Repository:
git clone https://github.com/your-repo/unilevel-mlm-ecommerce-laravel.gitor click here
cd unilevel-mlm-ecommerce-laravel - Install Dependencies:
composer install

npm install
- Environment Setup:
cp .env.example .env

php artisan key:generate
- Database Setup: Configure your database settings in the
.envfile and then run:php artisan migrate --seed
- Run the Application:
php artisan serve

npm run dev
Commission & Bonus Settings
- Access Commission Settings: Navigate to
Admin Panel > Settings > Commission Settings. - Configure Commissions:
- Referral Commission:
- Set the percentage or fixed amount for each referral.
- Joining Commission:
- Define the amount for new user registrations.
- Level Commission:
- Specify the commission for each level in the MLM structure.
- Company Commission:
- Configure the percentage that the company retains.
- Regular Bonus:
- Set bonuses for consistent performance or achieving specific milestones.
- Referral Commission:
Product Management
- Add New Products:
- Navigate to
Admin Panel > Products > Add New Product. - Fill in the product details such as title, description, price, stock, and upload product images.
- Choose whether the product is eligible for commission and if it should be featured.
- Navigate to
- Manage Products:
- View all products under
Admin Panel > Products > All Products. - Edit or delete products as needed.
- View all products under
Genealogy
- View Genealogy:
- Navigate to
User Dashboard > Genealogy. - Choose between Basic Genealogy and Pro Genealogy views to see the network structure.
- Navigate to
E-wallet
- Manage E-wallet:
- Access
User Dashboard > E-walletto view balance, transactions, and manage funds. - Users can request withdrawals and view their withdrawal history.
- Access
Affiliate Link
- Generate Affiliate Links:
- Users can generate and share their affiliate links from the
User Dashboard > Affiliate Linksection. - Track the performance and earnings from referred users.
- Users can generate and share their affiliate links from the
User Dashboard
- Dashboard Overview:
- The user dashboard provides a summary of total earned amount, E-wallet balance, total downlines, withdrawals, orders, and a referrals chart.
- View recent referrals, payouts, and wallet transactions.
Commission Views
- View All Commissions:
- Navigate to
Admin Panel > Commissions. - View detailed reports of all commissions including referral, joining, level, and company commissions.
- Navigate to
User Reports
- Generate User Reports:
- Access
Admin Panel > Reports > User Reports. - Generate and view reports for individual users, including their earnings and activities.
- Access
Run Payout
- Process Payouts:
- Navigate to
Admin Panel > Payouts > Run Payout. - Review users’ earnings and bonuses before processing payouts.
- Confirm and run the payout process.
- Navigate to
E-commerce Functionality
- Manage Orders:
- View and manage all orders from
Admin Panel > Orders > All Orders. - Check order details, update statuses, and handle customer inquiries.
- View and manage all orders from
- Shipping and Tax Settings:
- Configure shipping methods and tax rates under
Admin Panel > Settings > E-commerce Settings.
- Configure shipping methods and tax rates under
- Payment Gateway Integration:
- Set up payment gateways like Razorpay under
Admin Panel > Settings > Payment Gateway Settings. - Enable or disable sandbox mode for testing.
- Set up payment gateways like Razorpay under
By following this documentation, you should be able to effectively set up and manage a Unilevel MLM eCommerce plan using Laravel. For further customization or troubleshooting, refer to the Laravel documentation and community resources.
stx3pt
7rklpt
c5be2s
ub8gtn
ixwuva
atfhvb
5uoe4u
4ujnbh
5wrtx7
yhc5ay
zrdv9e
kmhqrh
pg2fir
Thanks for sharing. I read many of your blog posts, cool, your blog is very good.
c4u411
I don’t think the title of your article matches the content lol. Just kidding, mainly because I had some doubts after reading the article.
ep5va4
d8phrm
wb9pqg
ed7t39
d7n5ub
ey61sz
a74zql
688njf